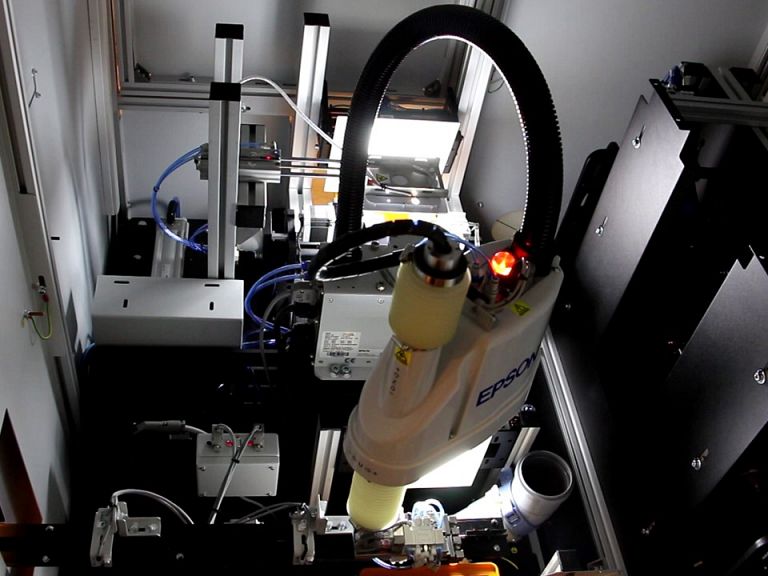
Robotic guide rod inspection system GRS1
Presentation
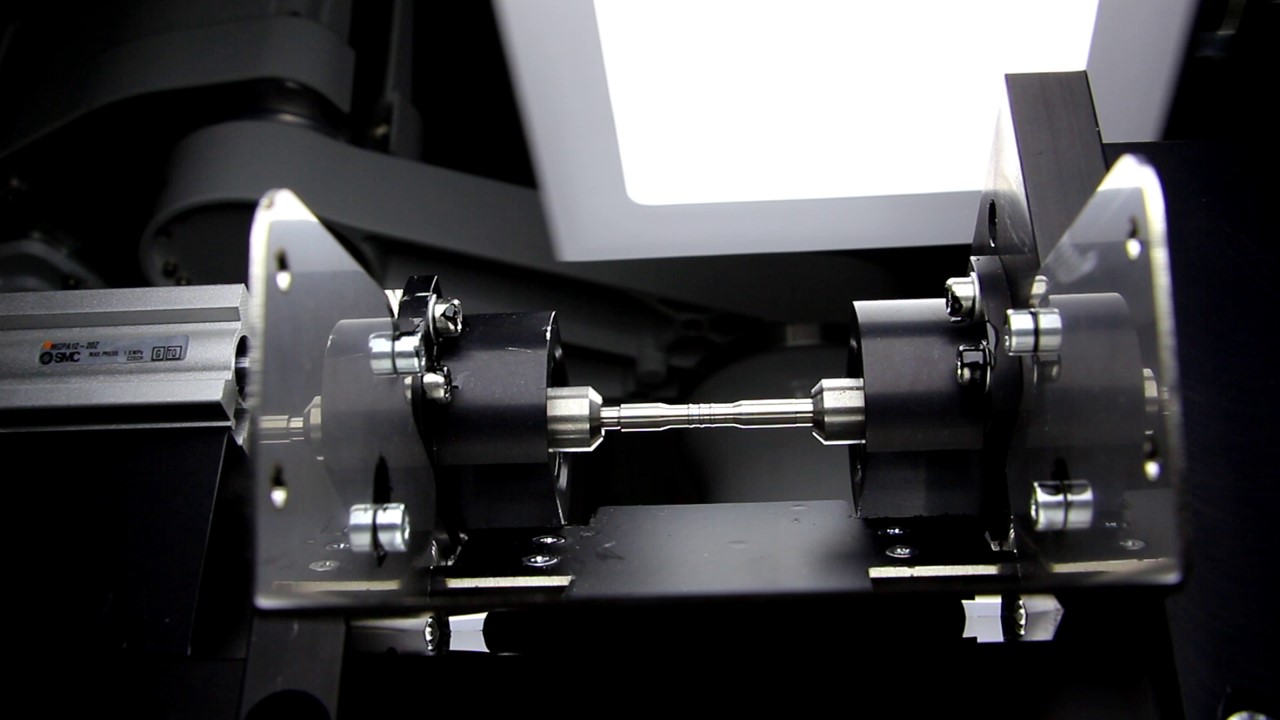
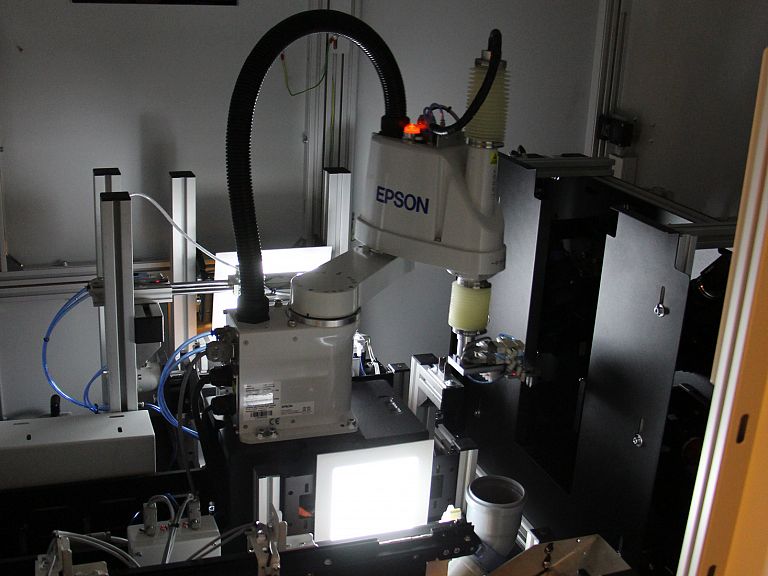
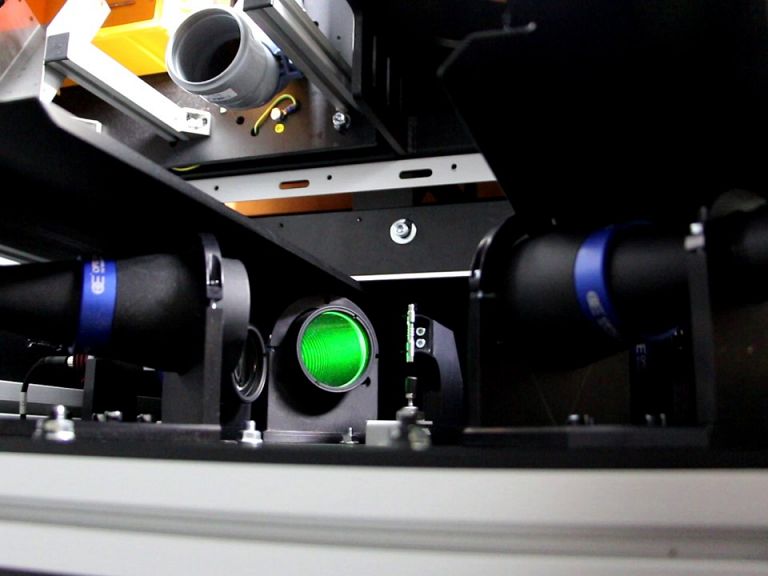
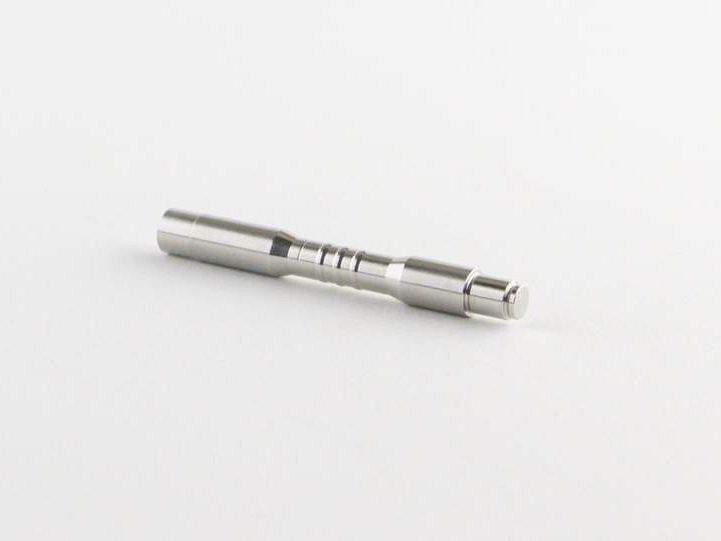
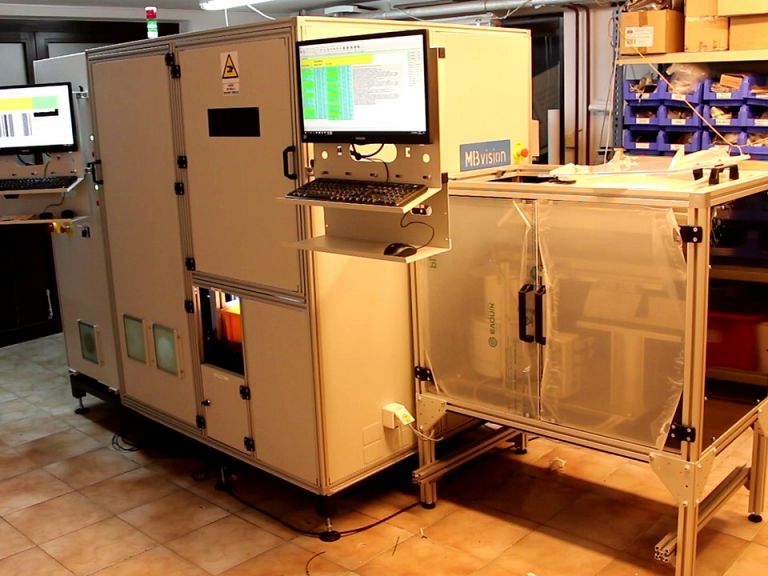
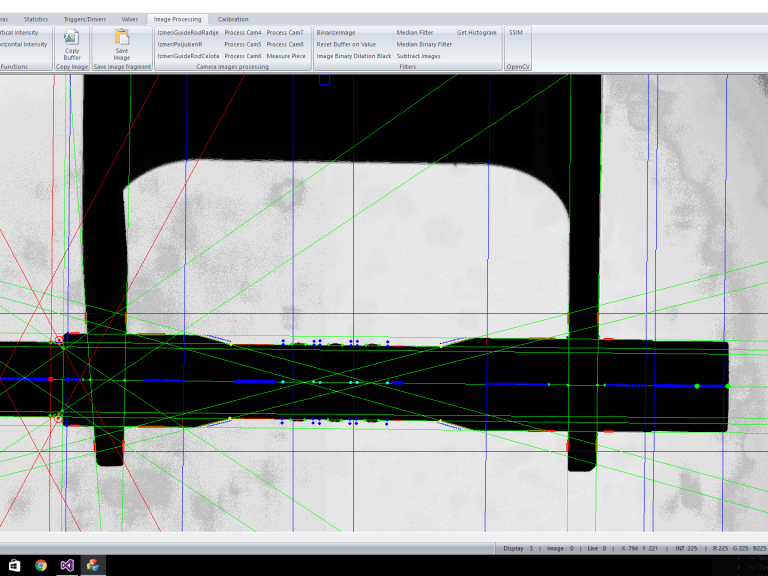
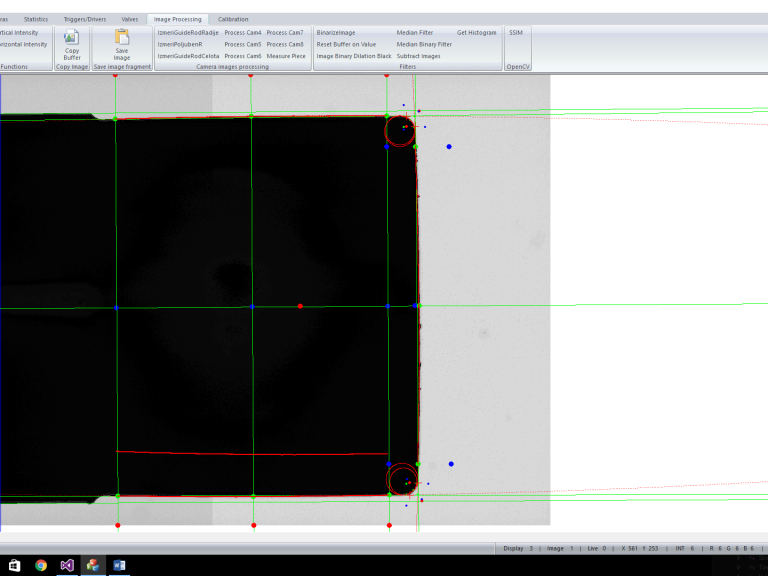
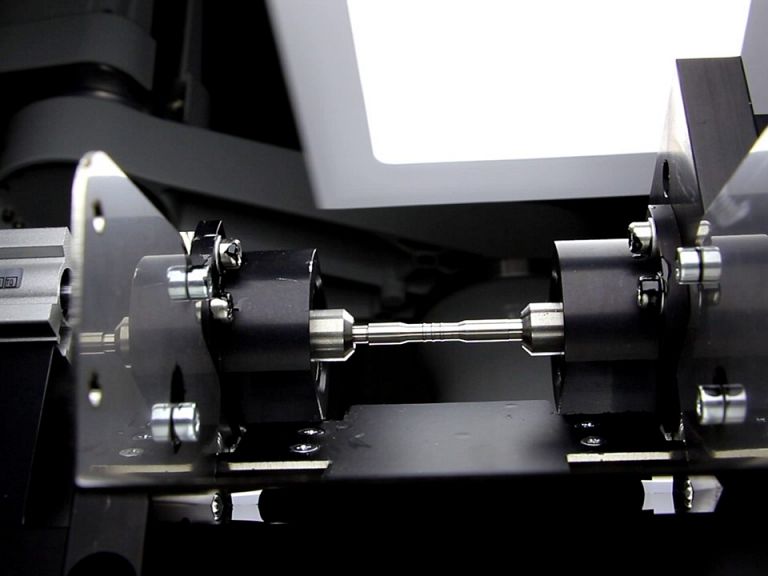
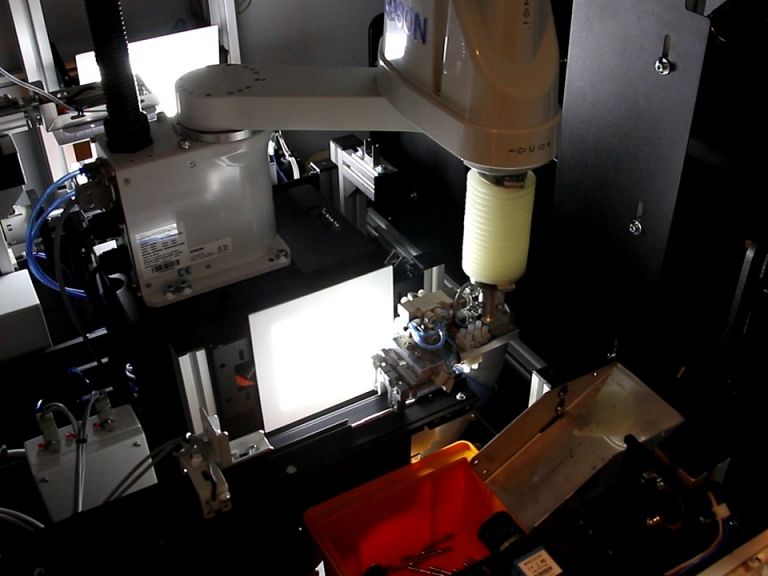
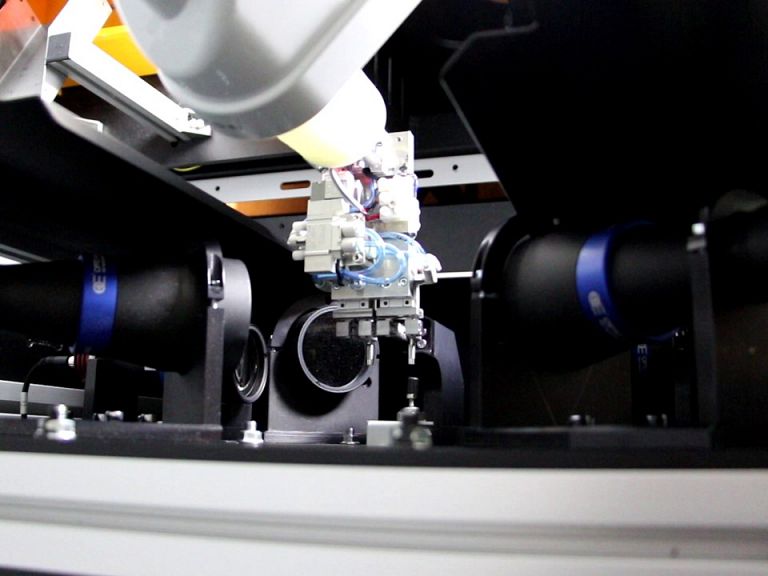
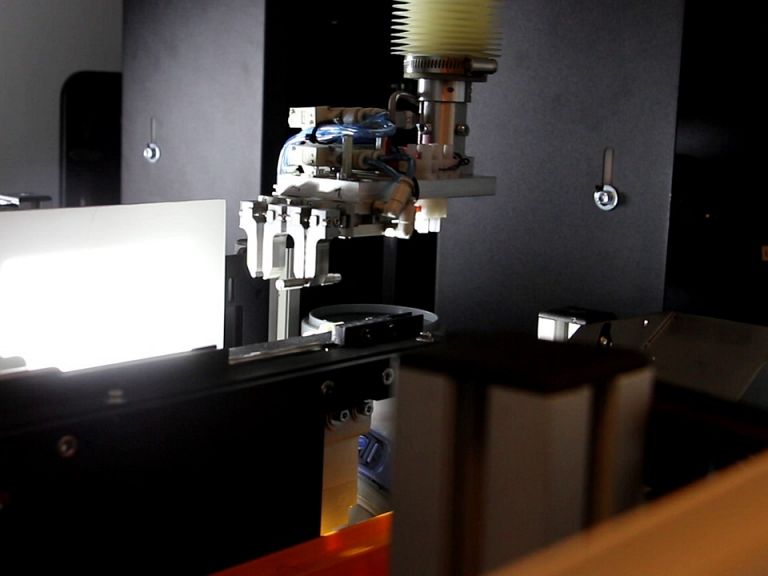
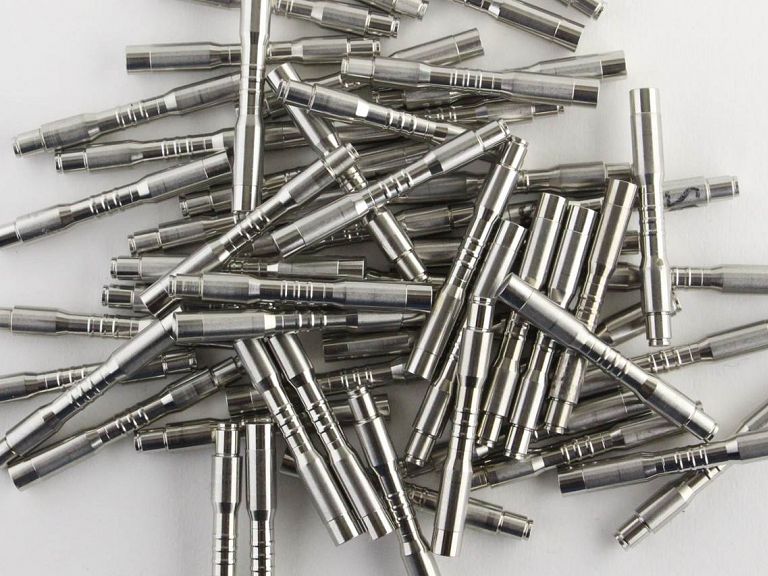
Optical measuring device is inspecting guide rods with precision of 2 micrometers. Pieces from the reservoar are put on conveyor belt, one after the other by vibrator. Robot collects the pieces from the conveyor belt in relation to the orientation of the piece. Guide rod is carried to the measuring point. If the piece is out of set tolerances is send to dimensionally poor box, if radius on the rod is bad, robot will take it in radius bad box. Good pieces are taken to the next station, where a stepper motor rotates the guide rod and the camera inspects the surface for scratches and inperfections. Undamaged pieces fall into the good box.


